Welcome to Trezor.io/Start: Secure Your Digital Assets
Trezor.io/start is the official starting point for anyone looking to securely manage cryptocurrencies and other digital assets using a Trezor hardware wallet. This page is designed to guide both new and experienced users through the process of setting up a device, understanding essential security practices, and taking full control of their digital assets. By using Trezor, users store private keys offline, minimizing exposure to online threats while maintaining ownership and independence over their funds.
Whether you are new to cryptocurrencies or looking to enhance your security practices, beginning at Trezor.io/start ensures that you follow official instructions, adopt safe habits, and protect your assets from potential risks.
What is a Trezor Hardware Wallet?
A Trezor hardware wallet is a physical device that securely stores your private keys offline. Private keys are critical credentials that authorize access to your cryptocurrency and blockchain-based assets. Keeping them offline ensures that they remain protected from malware, phishing attacks, hacking attempts, and other unauthorized access attempts.
Unlike software wallets, which remain connected to the internet, Trezor devices isolate sensitive operations from online environments. Transactions are approved directly on the device, meaning private keys never leave the secure hardware. This setup combines security, transparency, and user control. Trezor wallets are compatible with a wide range of cryptocurrencies, tokens, and blockchain networks, making them versatile tools for managing digital assets safely and efficiently.
Why Start at Trezor.io/Start?
Starting your journey at Trezor.io/start ensures that you are using official instructions, genuine hardware, and verified software. This reduces the risk of downloading counterfeit applications, following outdated guides, or falling victim to phishing scams. The official start page provides a structured process to help users verify device authenticity, initialize wallets correctly, and adopt essential security practices.
Beyond setup, Trezor.io/start also introduces the philosophy behind secure self-custody. Trezor emphasizes personal ownership, control, and transparency. Starting here lays the foundation for responsible digital asset management, helping users make informed decisions from day one.
Step-by-Step Guide to Setting Up a Trezor Wallet
The setup process for a Trezor device is simple, guided, and designed to maximize security. Here is a detailed overview:
Unbox and Verify Your Device: Always check that your Trezor device is new, sealed, and authentic. Trezor provides tools and guidance to verify device authenticity, ensuring you are not using a tampered or counterfeit device.
Install Trezor Suite: Trezor Suite is the official companion application that allows users to manage accounts, monitor balances, and install apps for supported cryptocurrencies. Download Trezor Suite only from the official Trezor website to guarantee security.
Connect and Initialize the Device: Connect your Trezor to a computer or compatible mobile device. During initialization, you can choose to create a new wallet or restore an existing wallet using a recovery seed.
Set a PIN Code: The PIN code protects the device from unauthorized physical access. Choose a unique code that is not easy to guess. This is the first layer of security for your hardware wallet.
Backup Your Recovery Seed: During setup, the device generates a recovery seed—usually 12 to 24 words. This seed is the only way to restore your wallet if the device is lost, stolen, or damaged. Write it down carefully, store it offline in a safe location, and never share it with anyone.
Confirm the Recovery Seed: Trezor will ask you to confirm your recovery seed to ensure it has been recorded correctly. This ensures that you can restore your wallet in the future without issues.
Install Cryptocurrency Apps: Using Trezor Suite, you can install apps for supported cryptocurrencies. Each app enables your device to communicate securely with the corresponding blockchain network while keeping private keys offline.
Add Accounts and Manage Assets: Once apps are installed, you can add accounts for supported cryptocurrencies and begin sending, receiving, and monitoring assets. Every transaction must be confirmed on the device itself, ensuring that private keys never leave the secure hardware.
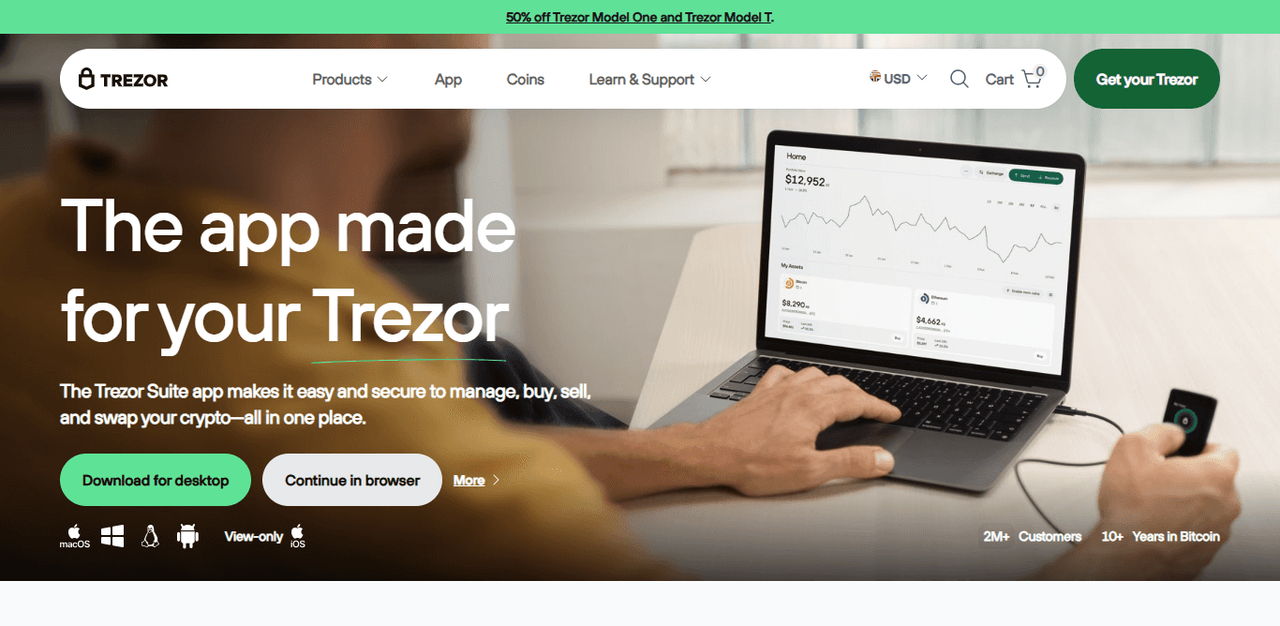
Trezor Suite: Your Secure Management Interface
Trezor Suite is the companion application for managing cryptocurrency assets securely. It provides a user-friendly interface that allows users to:
View all assets in one portfolio dashboard.
Send and receive transactions safely.
Install and manage cryptocurrency apps.
Receive notifications for firmware updates and security features.
All sensitive operations, including signing transactions, happen on the Trezor device itself. This guarantees that private keys never leave the hardware, keeping assets secure from online threats.
Security Best Practices
While Trezor hardware provides strong protection, security is a shared responsibility between the device and the user. Following best practices is essential to ensure the safety of your digital assets:
Never share your recovery seed: Keep it offline and secure. Anyone with access to it can control your assets.
Use official software: Download Trezor Suite and firmware updates only from trezor.io.
Verify addresses: Always confirm addresses and transaction details on the device screen.
Keep firmware updated: Regular updates improve both security and functionality.
Store backups safely: Protect recovery seeds from theft, loss, or damage.
By consistently following these practices, you reduce risk and maintain full control over your digital assets in a secure and responsible manner.
The Importance of Ownership and Control
Trezor devices are built around the principle of personal ownership. Users retain full control of private keys, which enables them to manage transactions, access, and security independently. This approach encourages transparency and personal responsibility, allowing individuals to manage assets without relying on third-party services or centralized platforms.
Starting at Trezor.io/start introduces these concepts early, ensuring users understand the importance of self-custody and how it impacts long-term digital security. Learning why control matters is as essential as learning how to use the device.
Maximizing the Benefits of a Trezor Device
Owning a Trezor device is just the beginning. To maximize its benefits, users should:
Regularly monitor accounts and transaction activity through Trezor Suite.
Explore supported apps and blockchain networks to expand asset management capabilities.
Stay informed about emerging security risks and adopt safe practices.
Keep the device firmware and software updated to maintain optimal security.
By doing so, your Trezor device remains a reliable and secure tool for managing cryptocurrency and other digital assets over the long term.
Final Thoughts
Trezor.io/start is more than a setup guide—it is the foundation for secure and responsible digital asset management. By following the official setup process, understanding essential security principles, and using Trezor Suite, users can confidently take control of their cryptocurrencies and blockchain assets.
Trezor hardware wallets, combined with Trezor Suite, offer a secure, user-friendly, and transparent solution for digital asset management. Starting at the official page ensures that your journey begins with verified instructions, safe practices, and guidance that supports long-term security. Taking the time to follow these steps demonstrates a commitment to ownership, privacy, and responsible management in the digital world.
By starting at Trezor.io/start, you are taking the first step toward safeguarding your digital wealth and building the knowledge required to navigate the cryptocurrency ecosystem confidently and safely.